In our previous posts, we primarily looked into the installation locations and features of wooden world maps. We discussed various wood types, ranging from those treated with oil or paint, and explored laser cutting and engraving techniques across different sizes. However, we haven't yet dug into the process behind these carefully crafted maps. The origin of the wood and the necessary steps before the plate is cut and engraved by our laser. Today, we'll take a closer look at the selection and fabrication of the base material for our wooden world maps
At MapaWall we always try to have some base material in stock. So when a client orders, we can shift fast and minimise the lead time for any kind of wooden world map or perhaps a custom project made from this particular wood type.
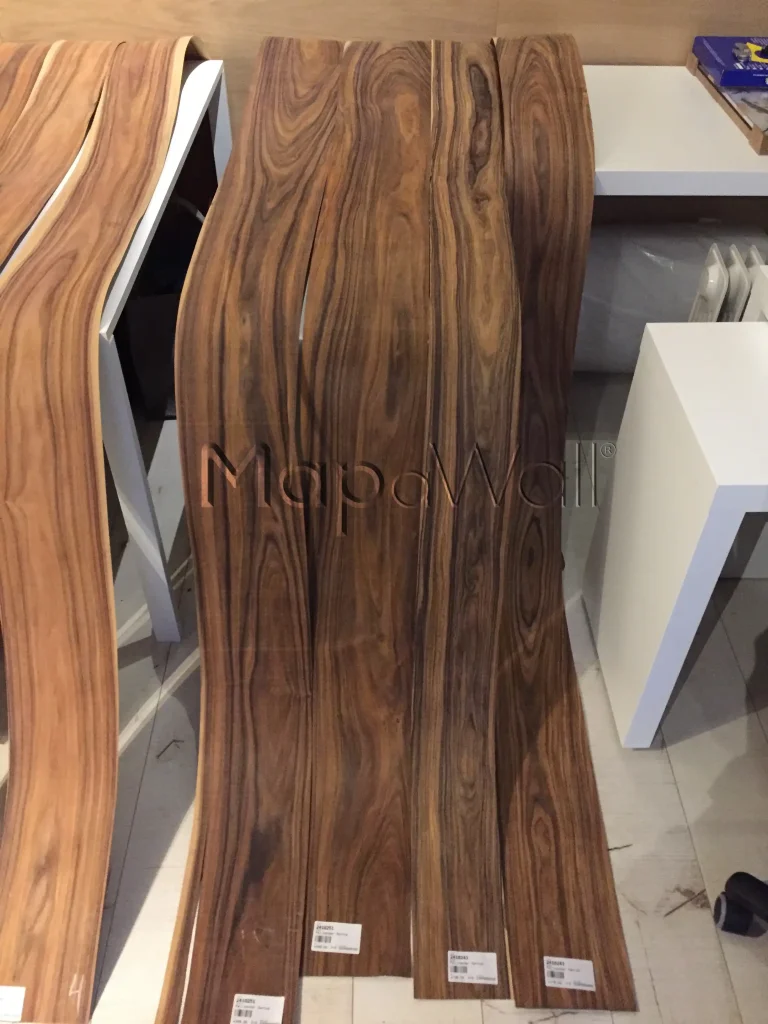
The process starts by ordering and selecting veneer from our wood supplier. Typically, we begin by requesting samples of available veneers, which are usually presented in books. These books contain stacks of long veneer strips, each with similar grain patterns. For instance, consider Rosewood (Palisander), which offers a variety of colour schemes and grain patterns. In the photo above, you'll see veneer strips sourced from different books. Before the wood supplier transforms these strips into larger sheets, we choose strips from various veneer books that harmonise in both colour and grain. Using a technique called mix-matched joining, the wood supplier then combines these selected strips to create sheets for us. This method involves gluing the strips together randomly, resulting in a unified sheet that has the appearance of a solid piece of wood. We firmly believe, along with many others, that this type of joining results in the most natural-looking wood surface.
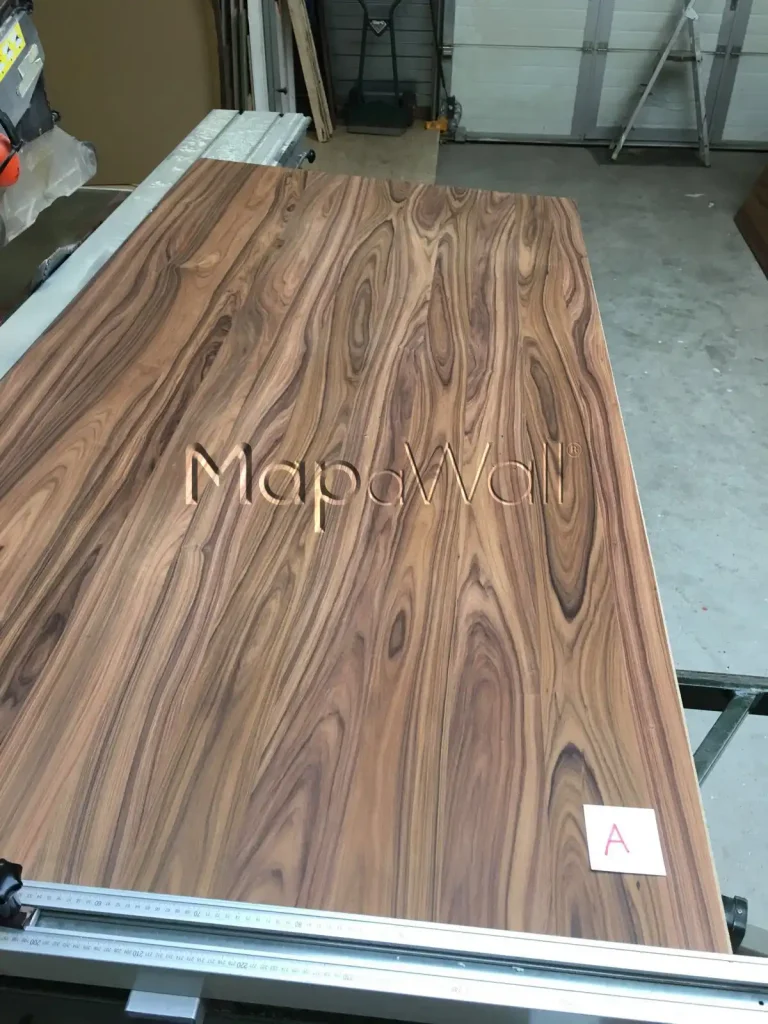
Once the sheets of veneer are bonded together, another crucial phase of the woodworking process begins: bringing the veneer onto large MDF wooden plates. These plates, provided by our wood supplier, come pre-coated with a black veneer. This black veneer, which serves as the backing for our wooden maps, not only have a smooth looking finish but also ensures consistent tension in the wood, even after the front veneer is glued and pressed onto the MDF plate. Cheaper maps often lack this veneer backing, leading to potential bending over time.
After applying glue to the plate, the large, mix-matched veneer sheets are carefully placed onto it. The entire assembly is then placed into a big heated press, where the veneer is subjected to high pressure and temperature for several hours until the glue sets. This process results in the creation of our base product: the wooden plate, ready to be cut and engraved by our high-end CO2 laser.
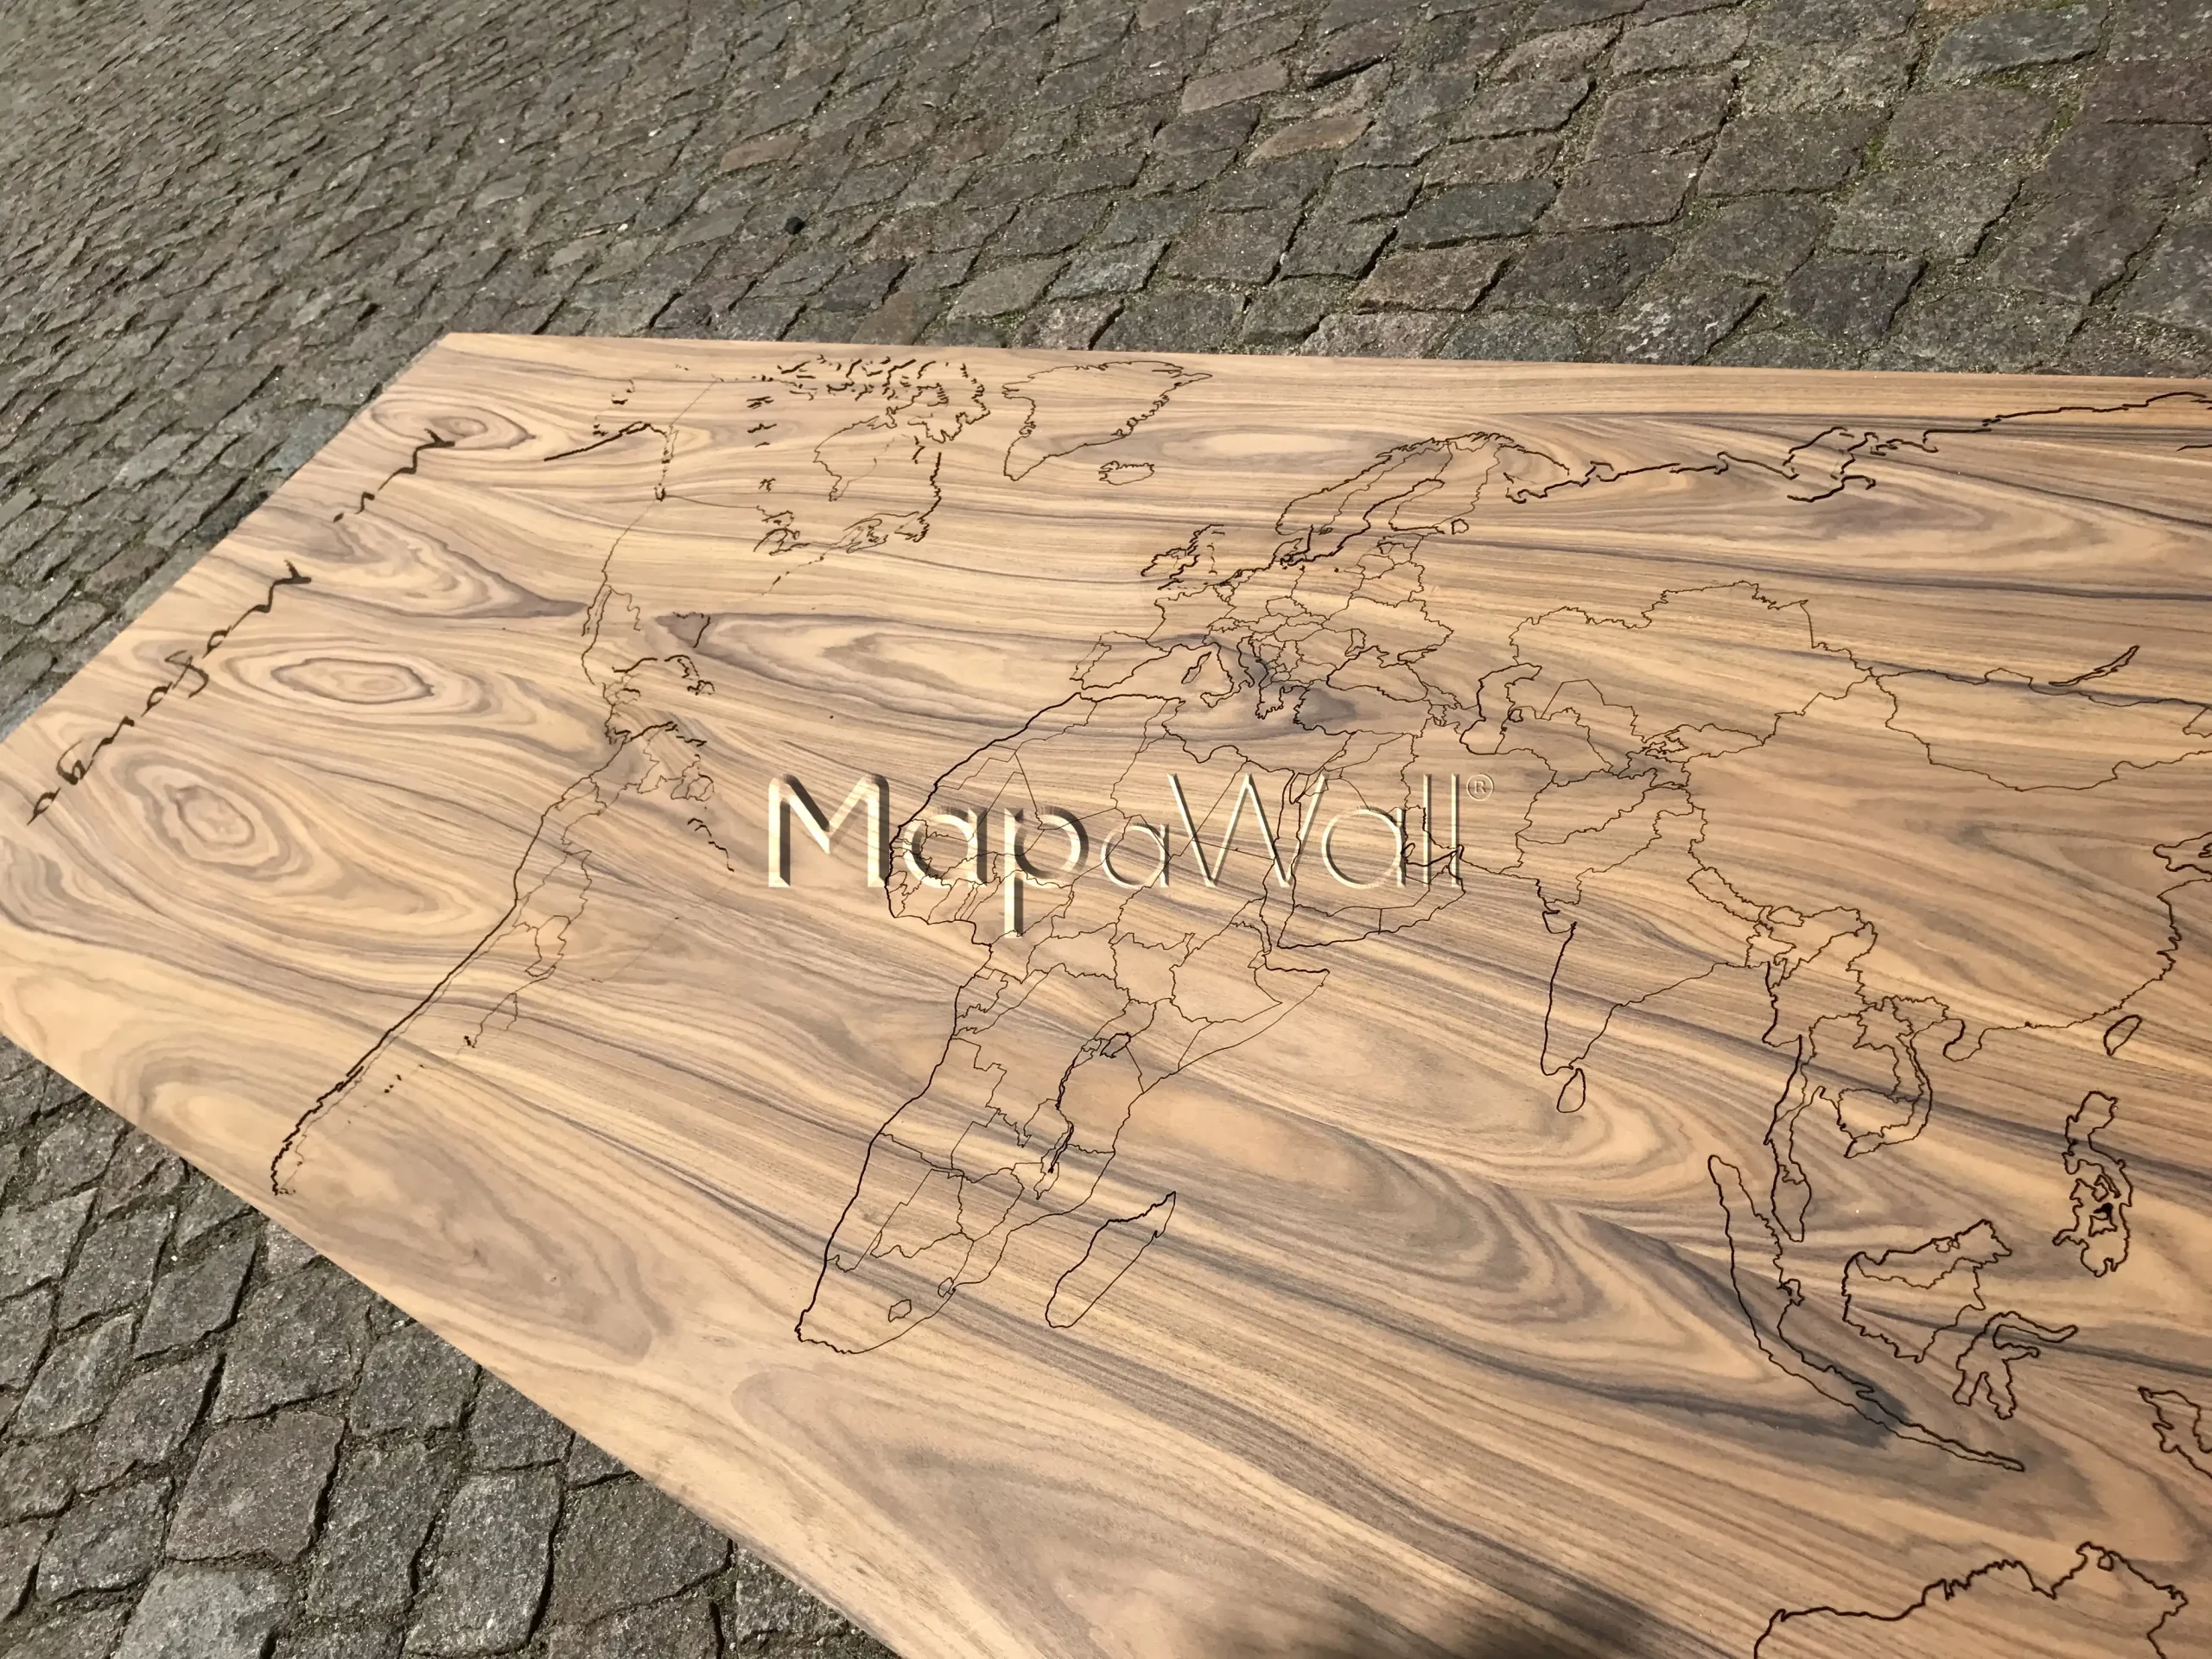
In the featured photo showing one of our custom projects, you can see an untreated plate of Rosewood that underwent the described process above.
We hope you have a better idea on what process the wood undergoes before it becomes a beautiful wooden world map made from Rosewood. If you have any questions regarding this process, please drop us a message.